Empowering Science Education
teachers & scientists working together to enhance school science
Join us in building strong partnerships that empower teachers with the latest scientific knowledge and resources, ensuring that students continue to view science as an engaging and practical subject.
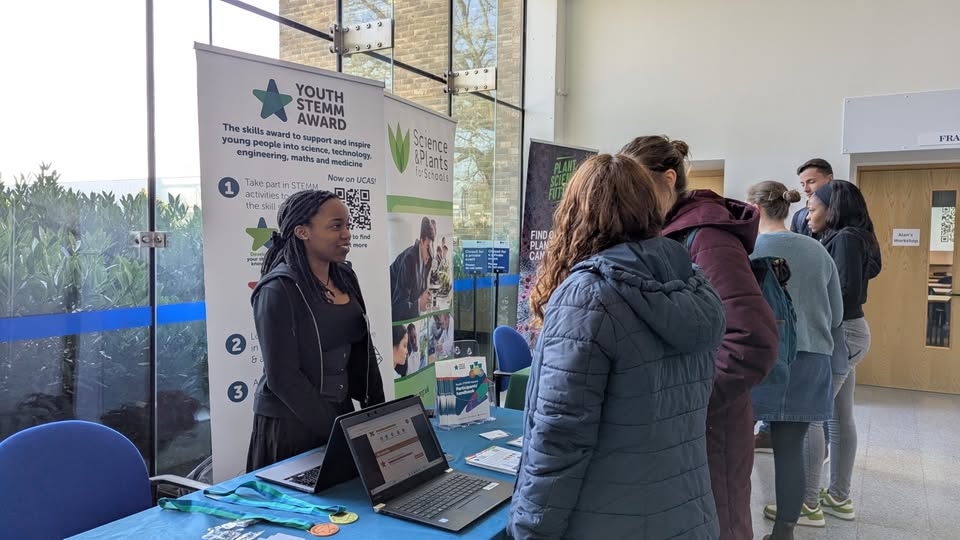
The Teacher Scientist Network (TSN) is a Norfolk-based science education charity that has for 30 years provided links to ‘real science’ and supported science teachers in a truly bottom-up way. We continue to do this from our home at the John Innes Centre providing
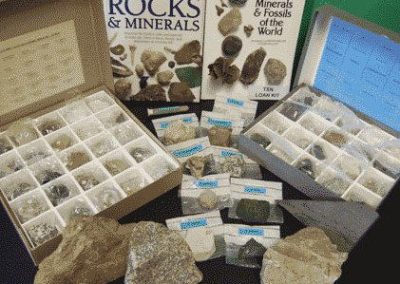
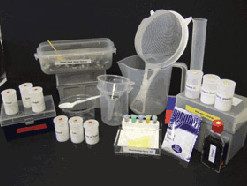
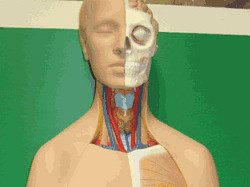
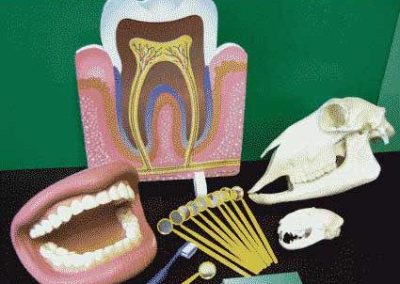
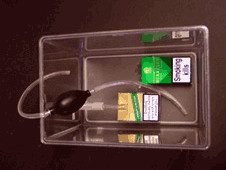
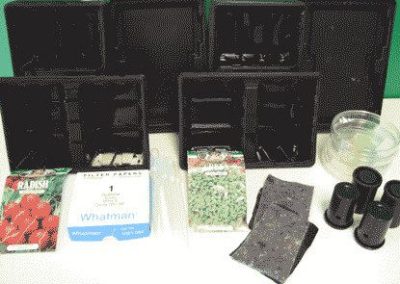
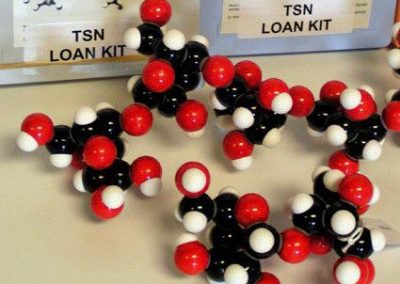
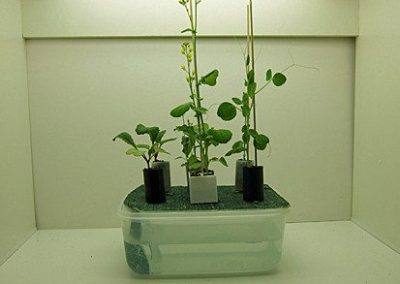
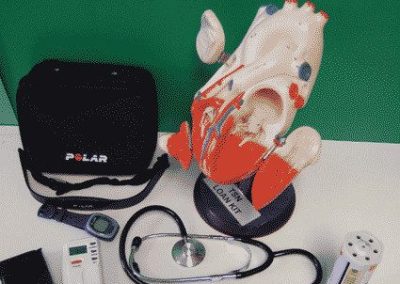
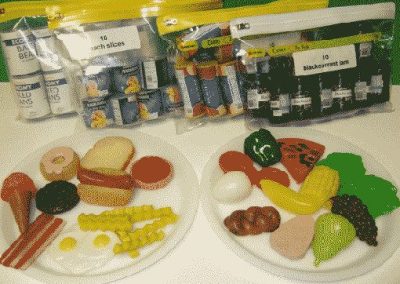
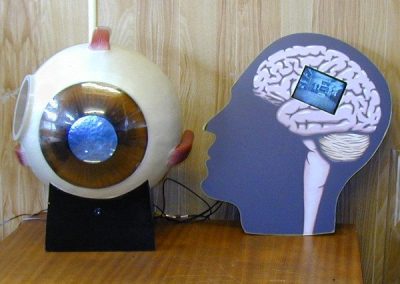
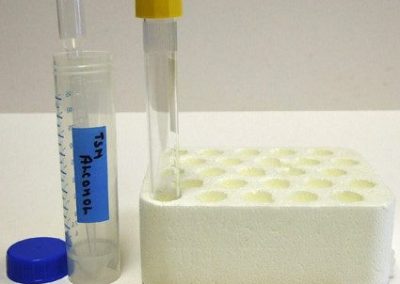
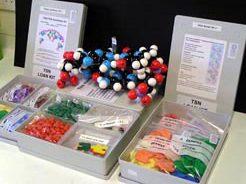
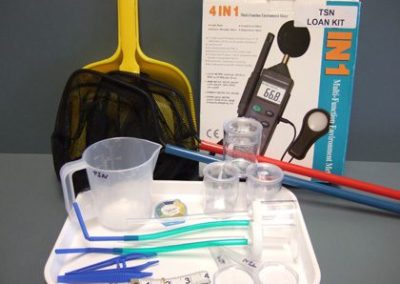
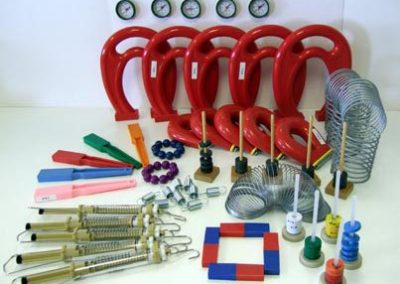
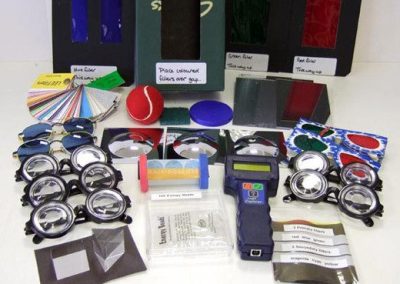
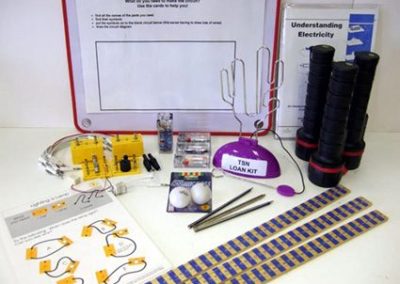
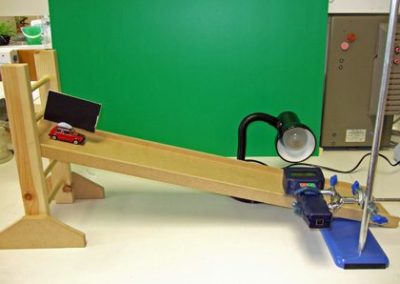
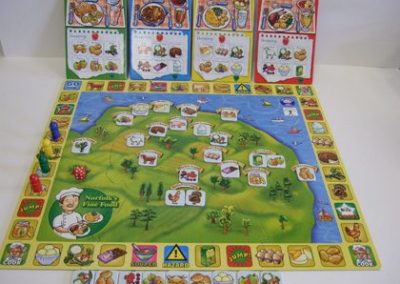
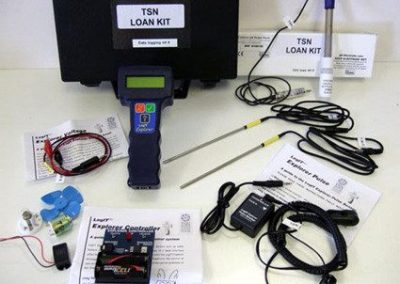
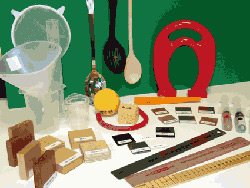
- Access to science resources via our Kit Club
- CPD opportunities to boost your subject knowledge
- A sense of community and opportunities for Networking with colleagues
- Opportunities to support scientists wishing to engage more schools, providing training and working collaboratively on the development of new resources for schools
Latest News and Events
Norfolk Science Teaching Conference 2026
Join the Teacher Scientist Network at this unique conference for both primary and secondary school teachers, with hands-on workshops, free…
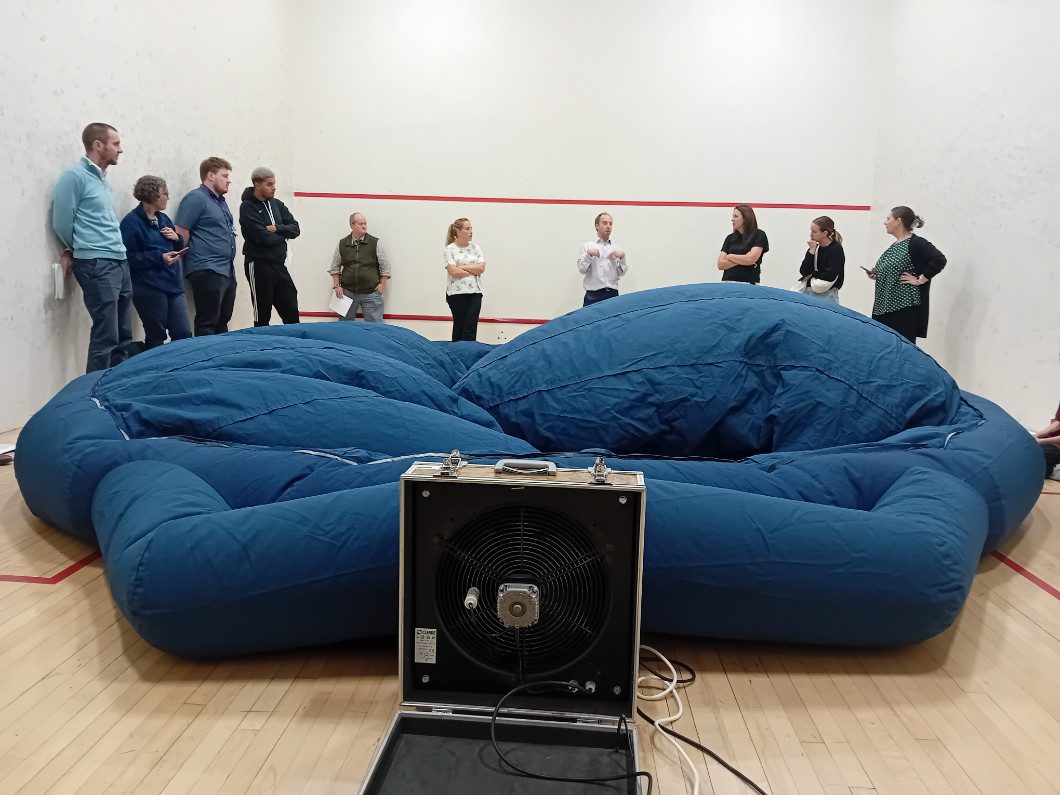
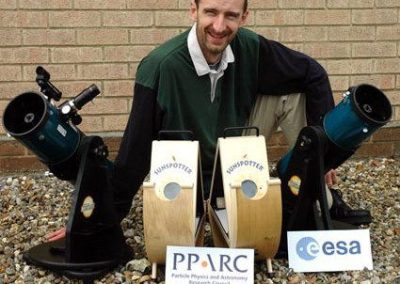
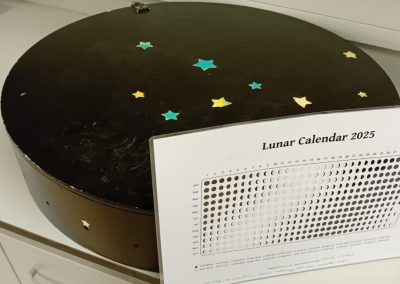
Portable Planetarium training event
Participants from 5 new schools joined us recently (in the squash court!!) to learn everything about loaning the Portable Planetarium. This…
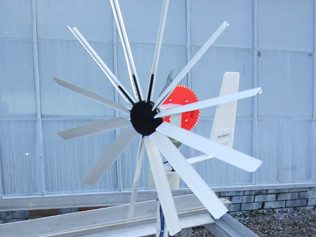
MEGAWATT
MEGAWATT – Free workshops and resources on energy and sustainability. TSN is delighted to make you aware of a FREE opportunity for KS3/4 science and…
Why Trust Science
Well worth checking out is this new project involving colleagues at NSF and former TSN Chair, Prof Keith Roberts – the web address says gives you a…
Partnership Grants Scheme
PARTNERSHIP GRANTS SCHEME of the Royal Society. Upto £3000 available for partnerships to apply for if you are teaching 5-18 yrs . TSN is happy to…

Back to School
TSN KIT CLUB OPEN FOR BUSINESS as usual – science kits for loan, enhancing practical, hands-on science in schools across Norfolk. Join TSN now!
Our Kit Club


What Our Participants Say
“Our school will be continuing with the subscription as they are such a valuable resource.”
Sarah
Wensum Junior School
“Collaborating with scientists through this network has enriched my classroom experience and inspired my students.”
David Brown
“The resources and support provided by the Teacher Science Network are invaluable to any science educator.”